_________________________________________________________________________________________________
LCD Clock
I learned about displays, i2c, date & time in python and custom characters!
This project started because I didn't have a clock in my room!
I saw a generic i2c 2x16 LCD lying around and decided to see what it could show...
I saw a generic i2c 2x16 LCD lying around and decided to see what it could show...
Turns out it's quite a lot! The power of using custom characters in the memory of the display really got me thinking of how I could take advantage of them. As you can see in the first prototype, my first go was to make little analogue clock symbols... I knew I could do more though, and I started combining multiple characters to make one image.
I thought "what if I could make a set of characters that I could use as a font?" and that's exactly what I did! Having the custom 'large font' makes the display very easy to read, and I could still use the normal characters to show details such as the seconds or AM/PM. This is one of my favourites and used it as my only clock for several years!

First test of display library

First prototype (bottom left chars are custom)

Custom logo using characters

Working prototype with custom characters

Menu system using rotary encoder

Final product(s)
_________________________________________________________________________________________________
Miniplayer (V1)
I learned programming in JavaScript using Node-Red, Spotify's API, MQTT, networking and wiring displays!
This turned out to be quite a large project. Going through 3 software redesigns and 3 hardware versions (just for V1!).
So large in fact, that I have decided to seperate this project into 2 versions.
I can't remember exactly how this one started, other than I had a few screens given to me. I was really into Spotify at the time, and discovered they had an API to get the current song, length, artist and more!
My first attempt was using a G-LCD. It took a couple attempts to wire up properly, but I even managed to wire automatic backlight control and button inputs! It was quite nice to read but was limited by size and refresh rate.

First attempt at wiring (timing issues)

First working wiring (with buttons & backlight control)

Added phototransistor and capacitor to read light levels

Final version with light sensitive backlight and button inputs
I liked the LCD, but knew I could do a lot more with colour. I found a 3.5'' 480p display for Raspberry Pi's. By this point I had already started Retro Rampage and knew Pygame quite well. I used pygame to make the program show on the display of the Pi (and also any desktop!) since I already knew how to use it.
This was where I also learned to use Node-Red for the spotify API.
Node-Red did all of the external communication and only sent the miniplayer what to display. The miniplayer then told Node-Red that a button or action was made. The huge advantage of this was that Node-Red could handle any amount of miniplayers and they would all show the same information, meaning the weather could be displayed in every room for example! The miniplayer itself also didn't have to process much meaning it was very, very efficient.
One thing to also note Is that I attempted quite a modular design. All communication was it's own MQTT class and functionality was split into 'windows'. This meant I could have pages for whatever I wanted with little effort!
I ended up making weather, Spotify, 3D printer and settings windows!

Two-way communication (first prototype)

Adding UI elements
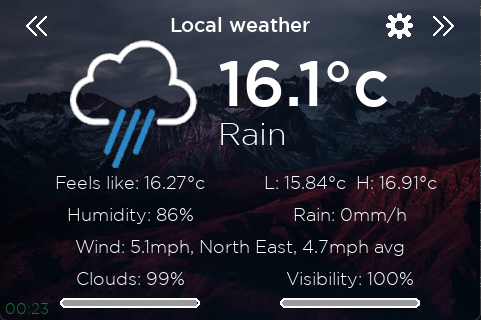
Final product (weather)
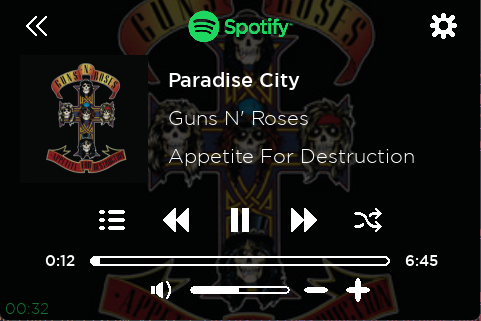
Final product (spotify)
_________________________________________________________________________________________________